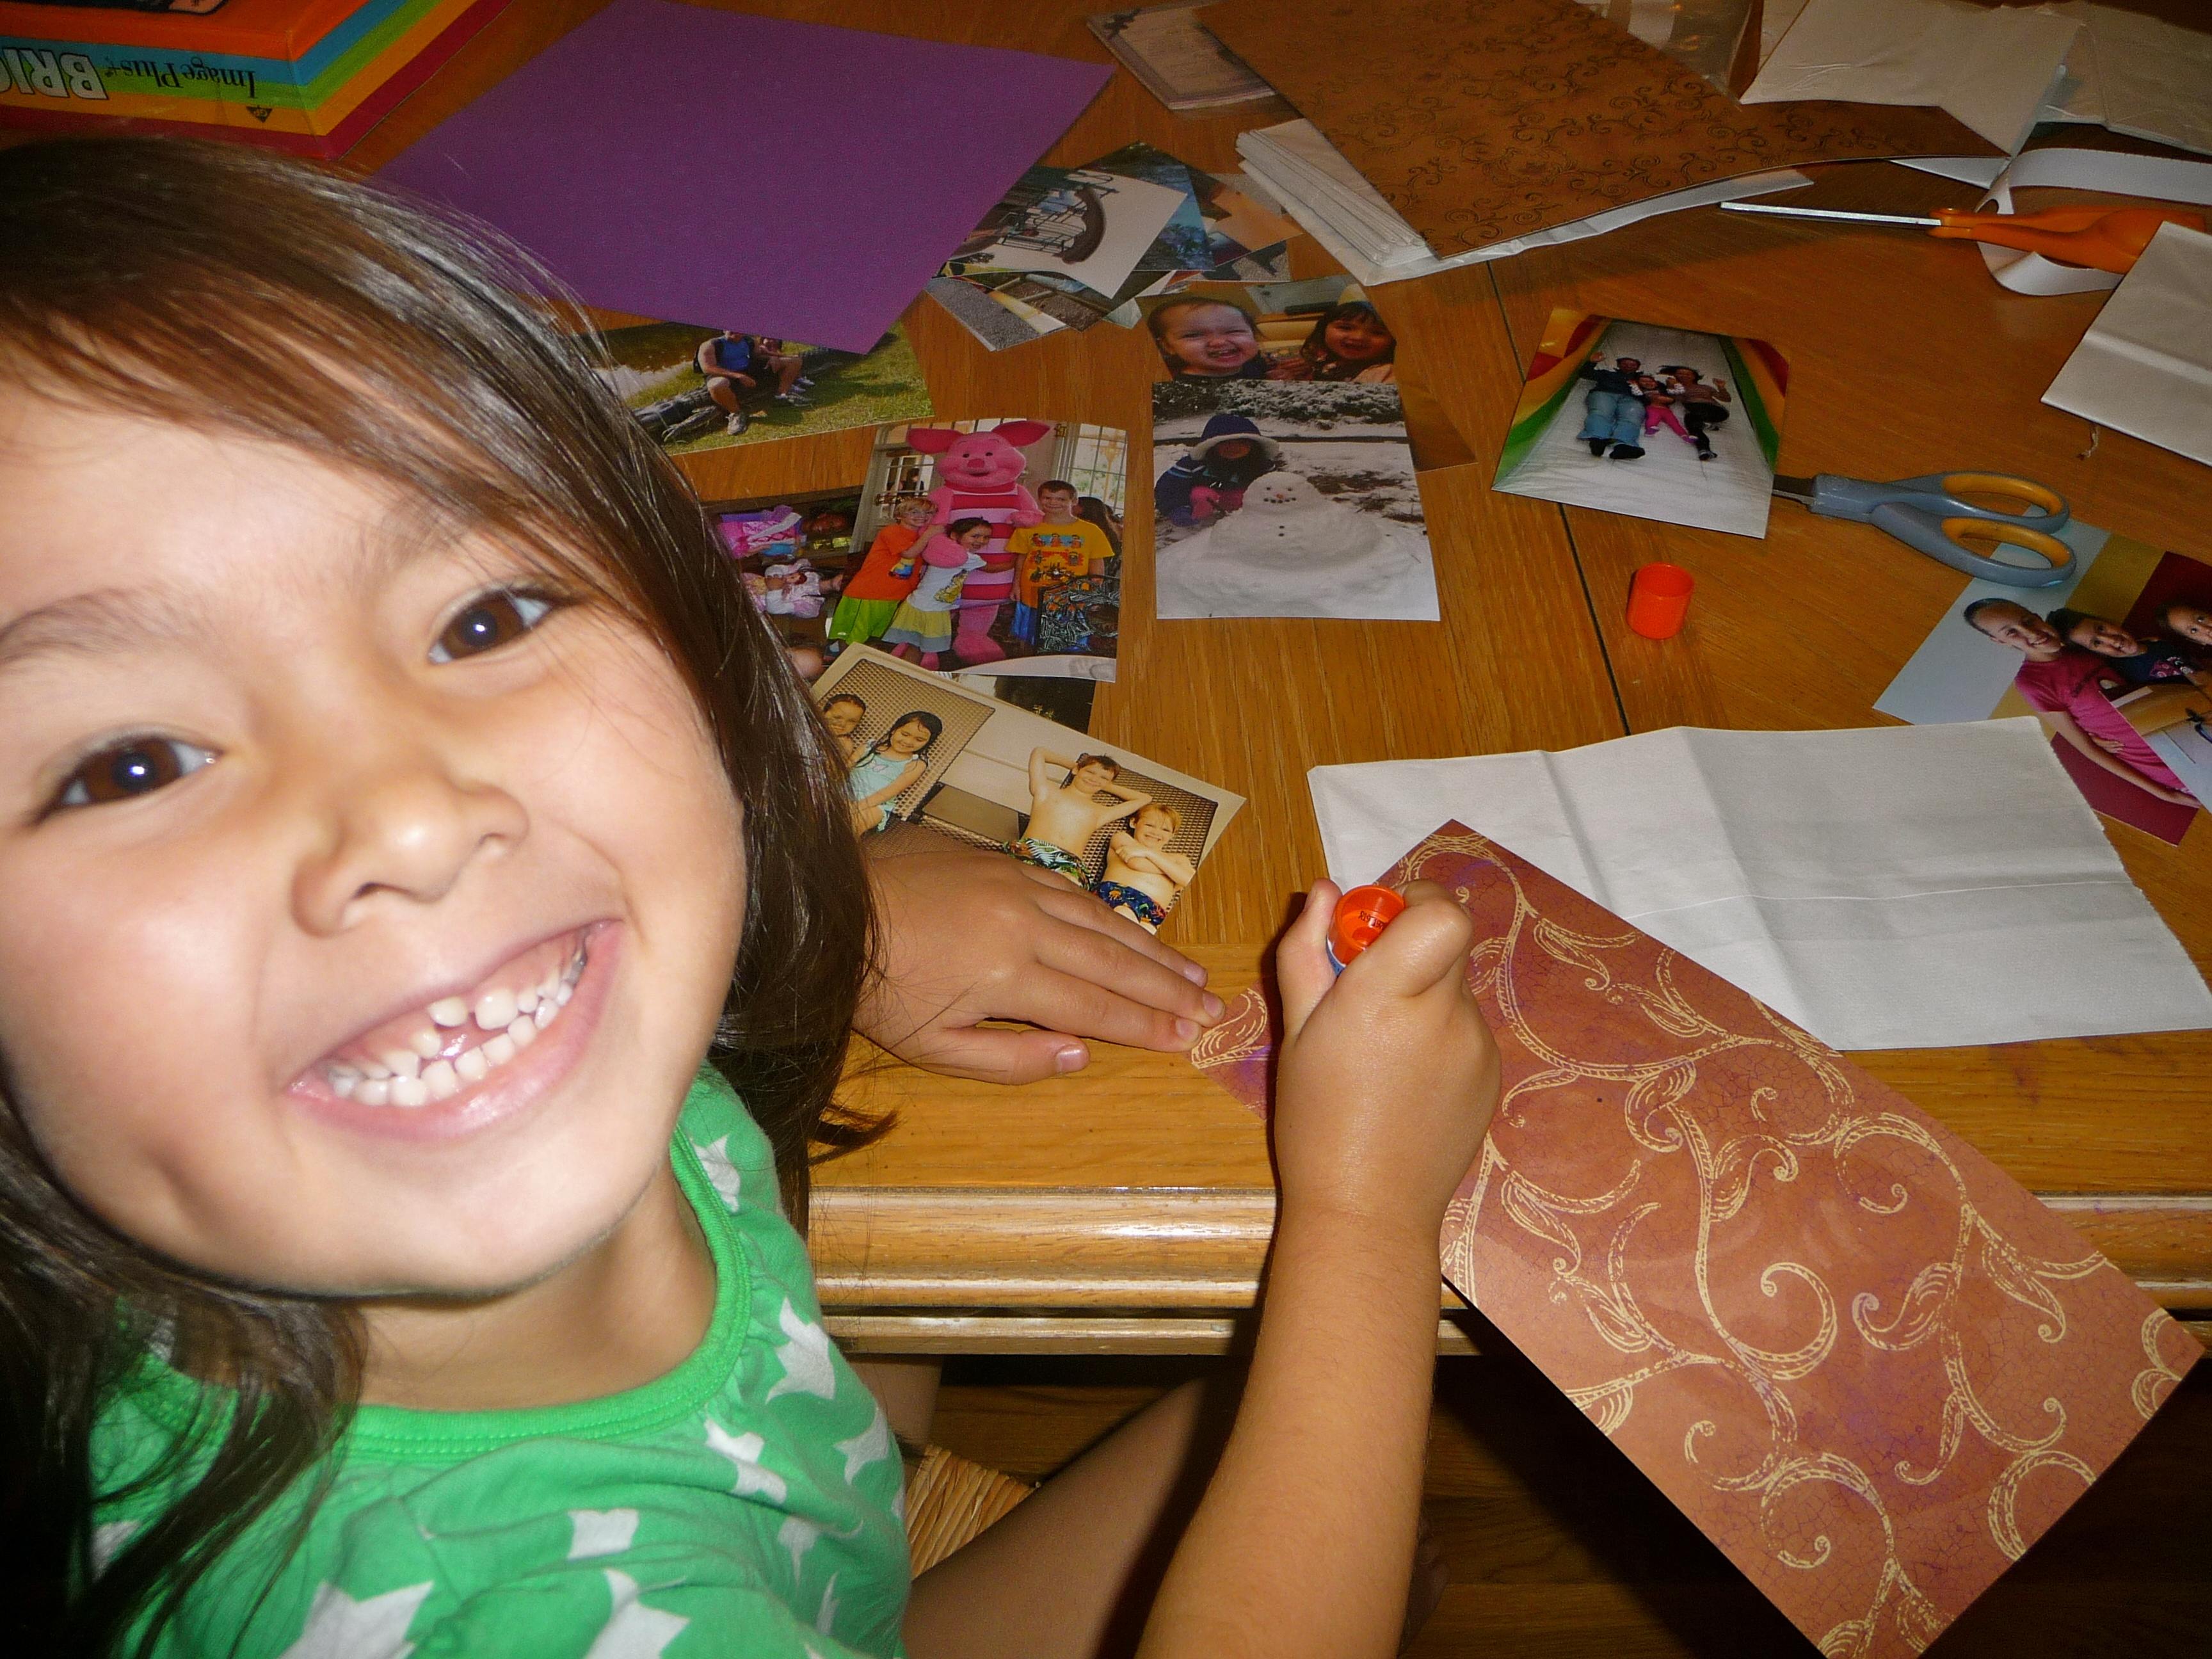
 When one of my crafty MIL’s friends visited last week, she left us a surprise: all the materials necessary to make our own paper bag scrapbooks. Say what? My thoughts exactly. As someone who abandoned old-fashioned scrapbooking the moment I discovered Shutterfly, I never imagined turning a lunch bag into a keepsake. But my five-year-old was enchanted. Every day, from dawn ’til dusk (and once at 4am in the morning), she asked if we could make her paper bag scrapbook. So, we did. Turns out, we love this kid-friendly craft! It’s simple enough to finish in a few hours, and full of customizable options (paper, photos, stickers…) that will leave your little one with an extra-special keepsake.
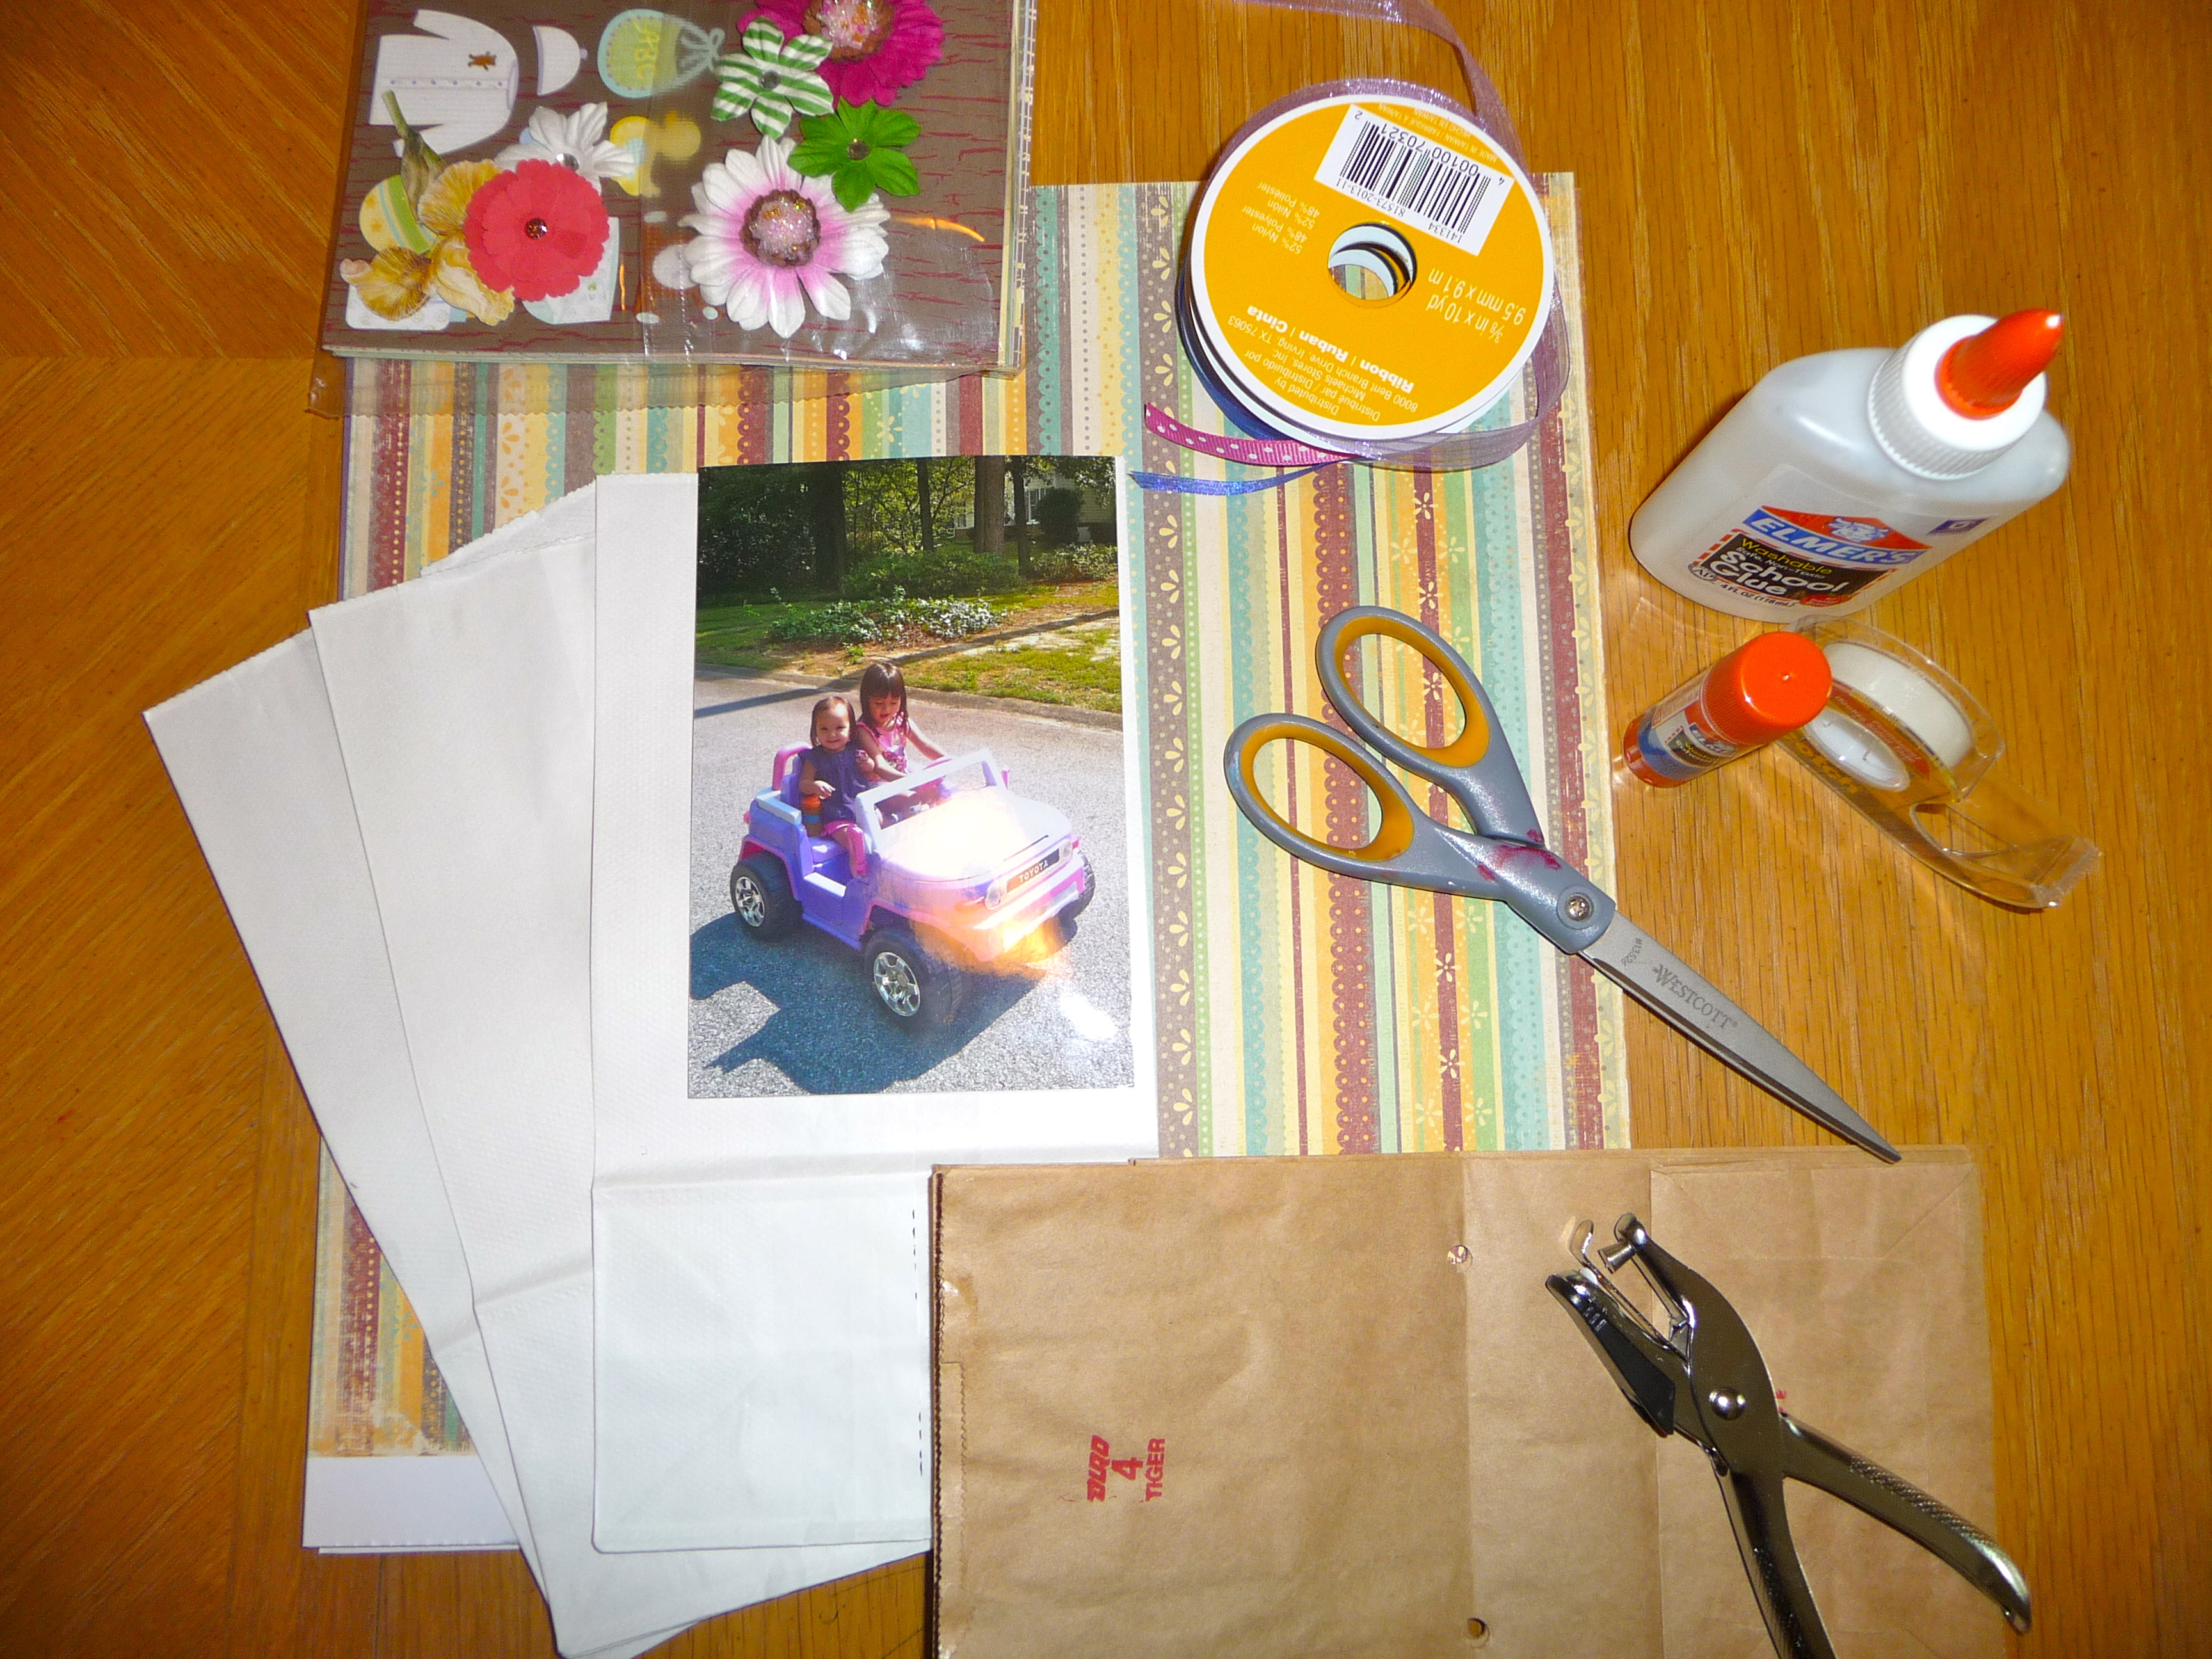
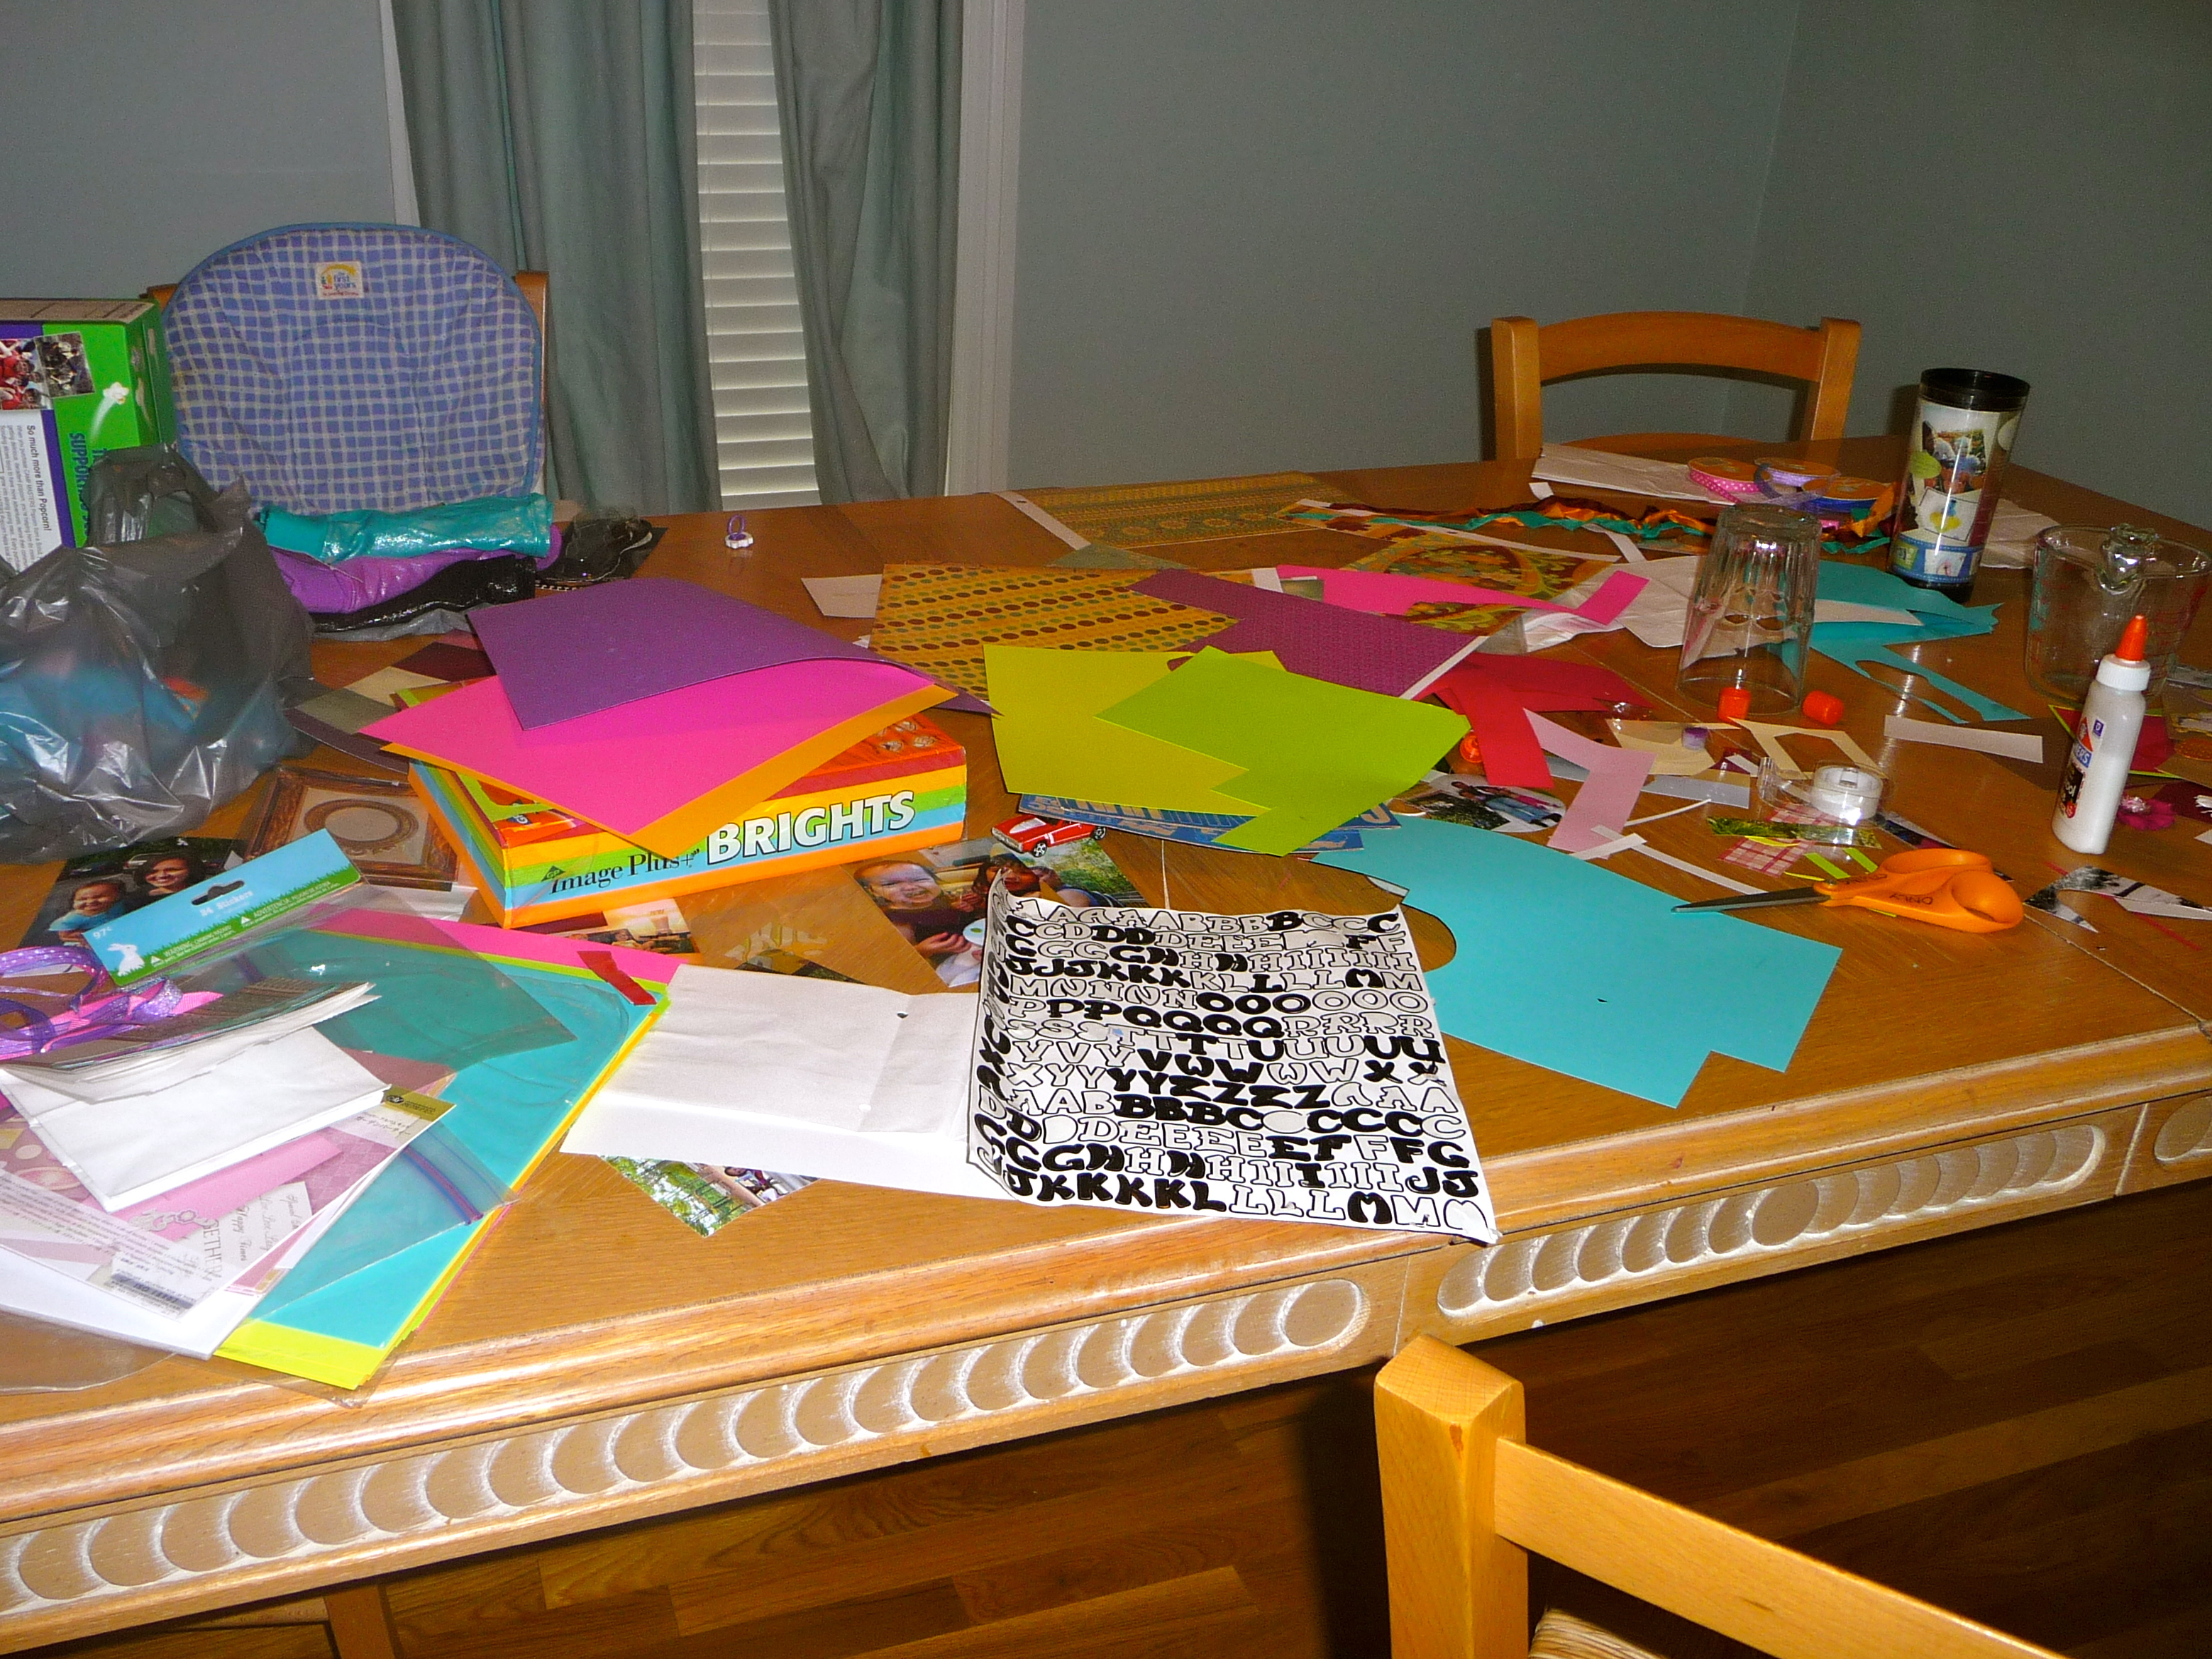
You will need:
3 small paper bags
hole puncher
ribbons (to bind your book)
scissors, glue (or double-sided tape)
photos
scrapbook and/or construction paper
any other scrapbook embellishments
Steps:
1. Fold your paper bags in half. Open them and punch two holes down the middle crease. Thread three strands of ribbon through the holes and tie in a bow on the outside of the scrapbook.

2. Decorate each page of your scrapbook any way you please. My daughter loved picking which pictures went first, and what paper and embellishments went with them.
3. Use the pages with the top portion of the paper bag as “pockets.” We filled some with photos, and others with hand-drawn pictures. 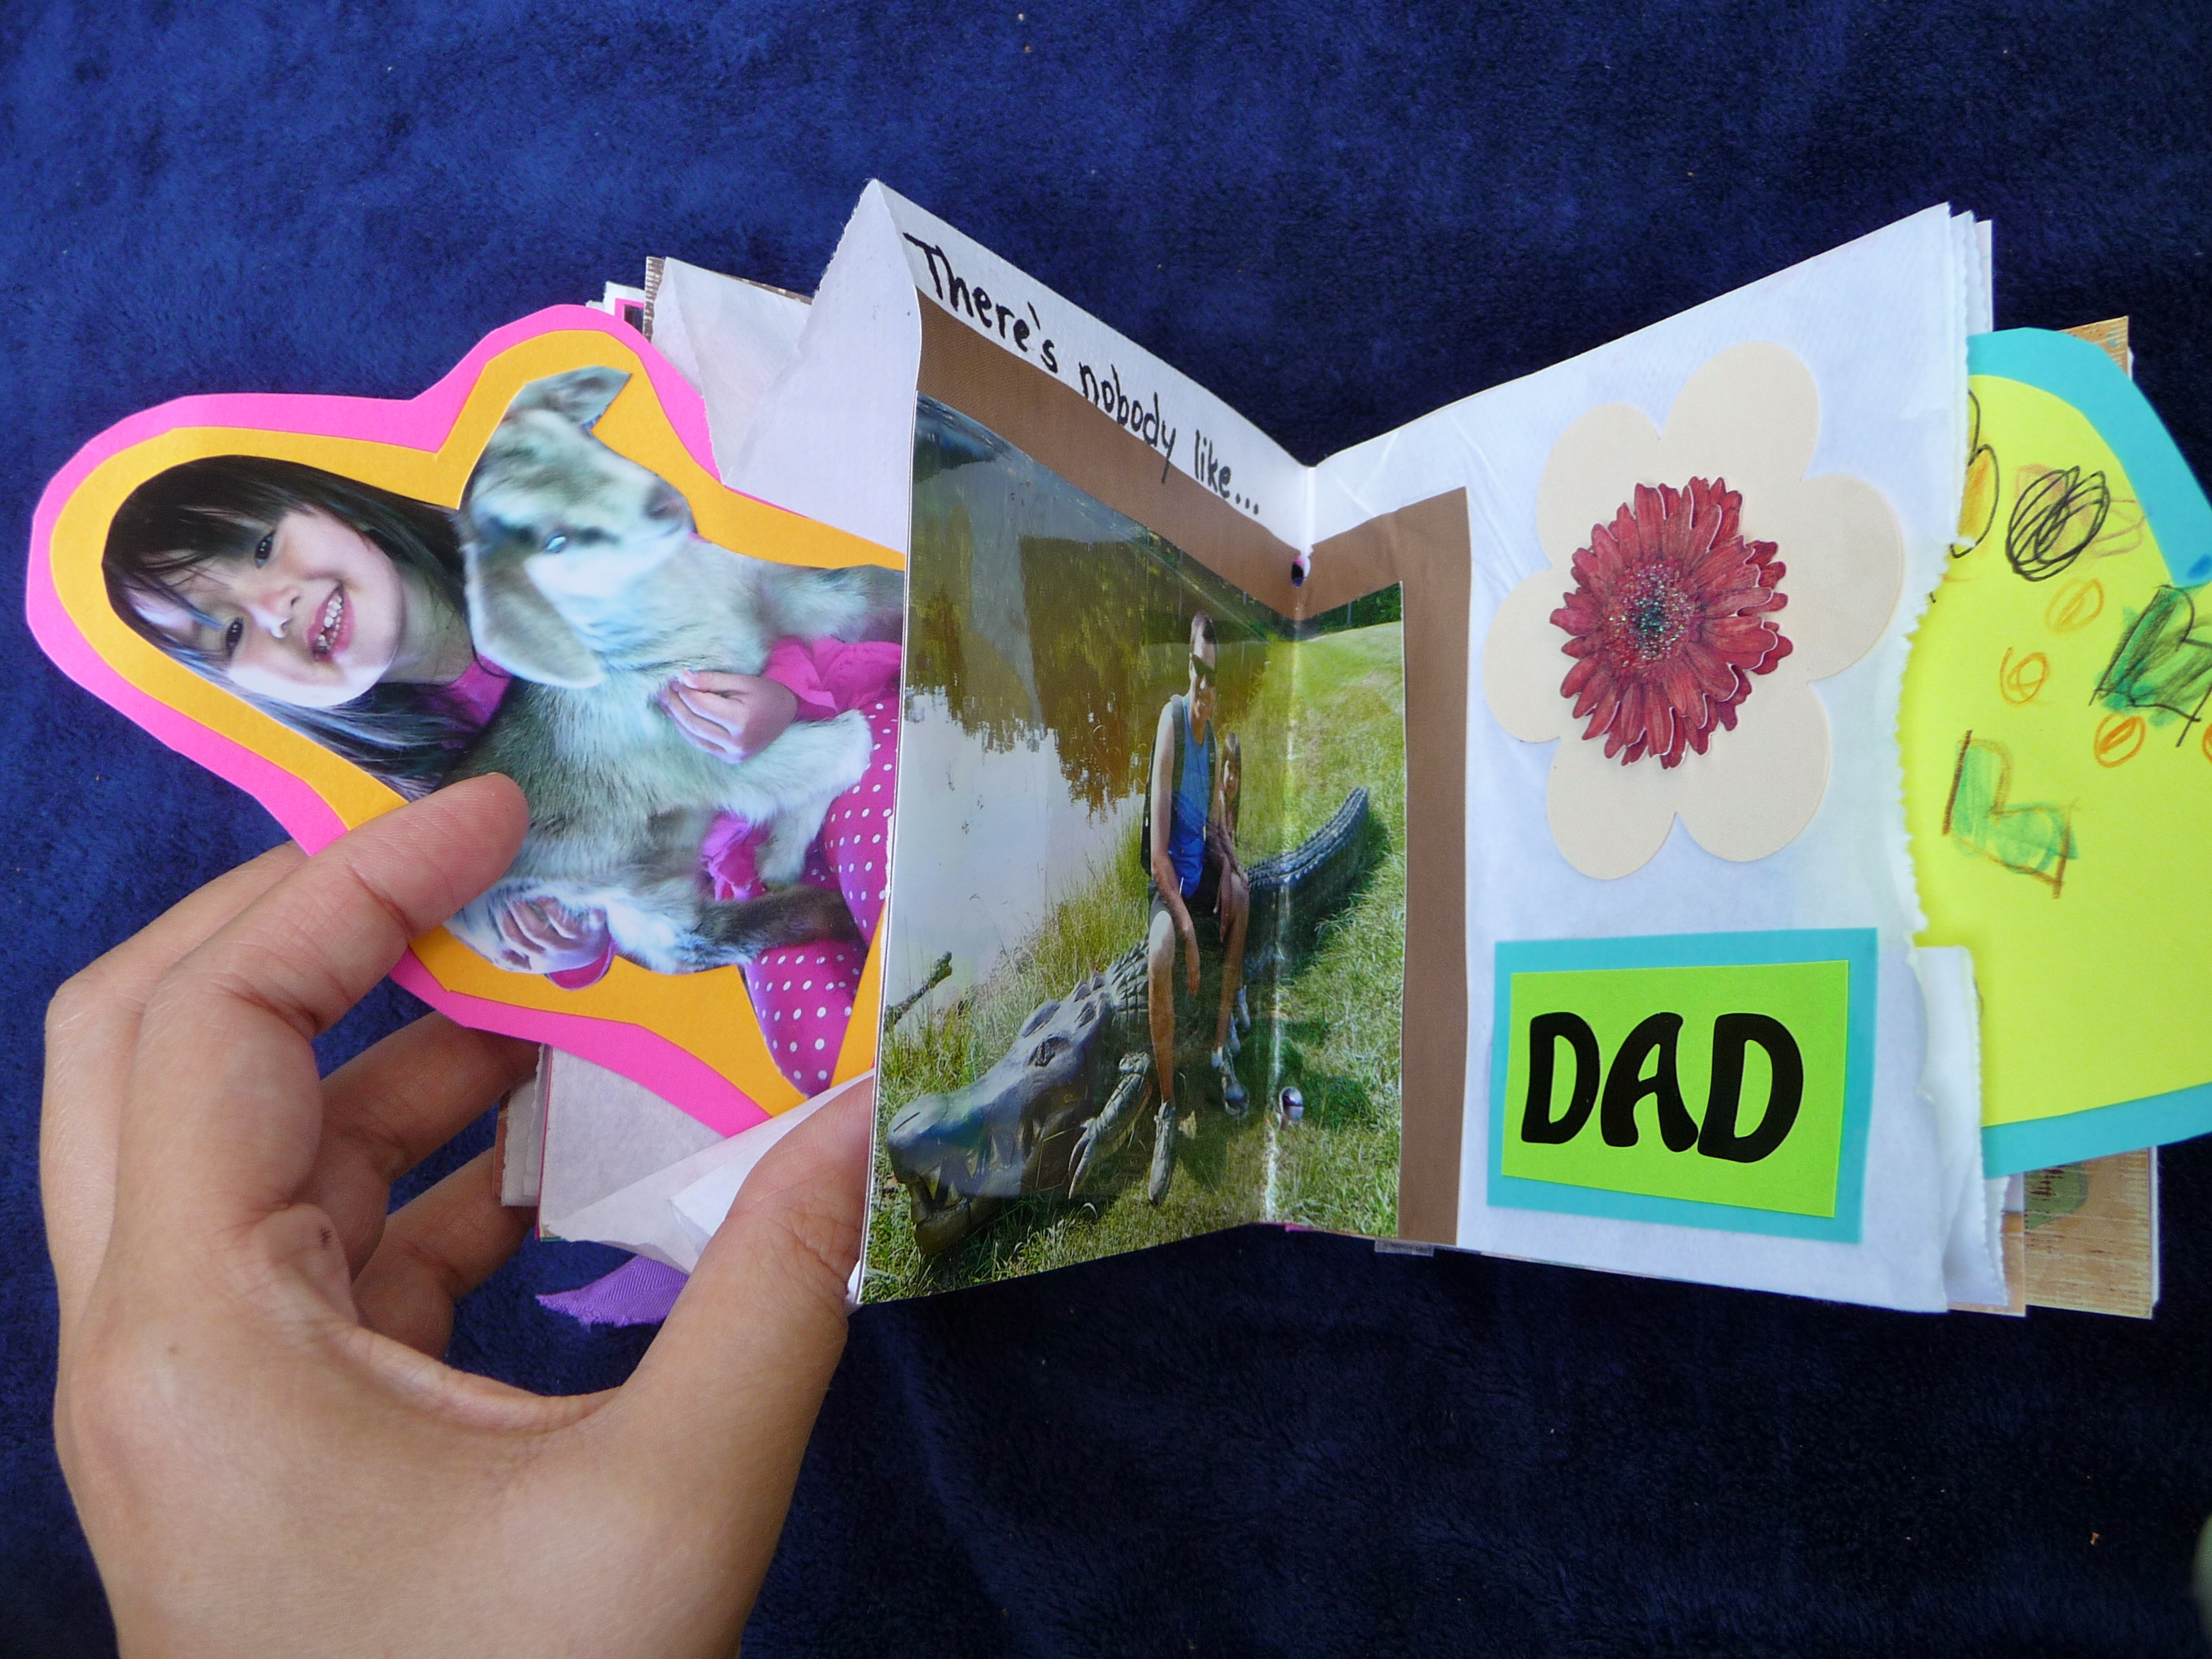
4. Other pages will include the bottom portion of the paper bag (the rectangular part that makes it stand upright). You can either glue this part shut, or use it as a little flap to include captions, small stickers, or “surprise!” photos. 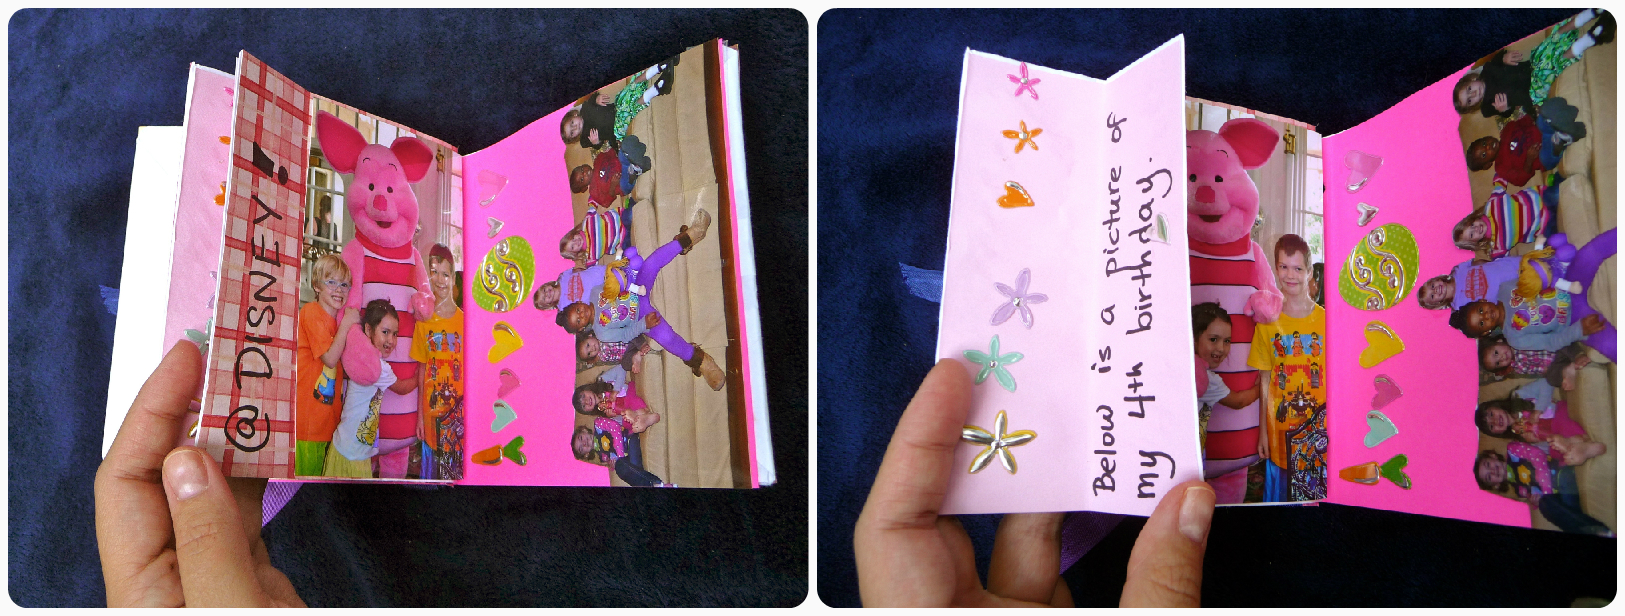
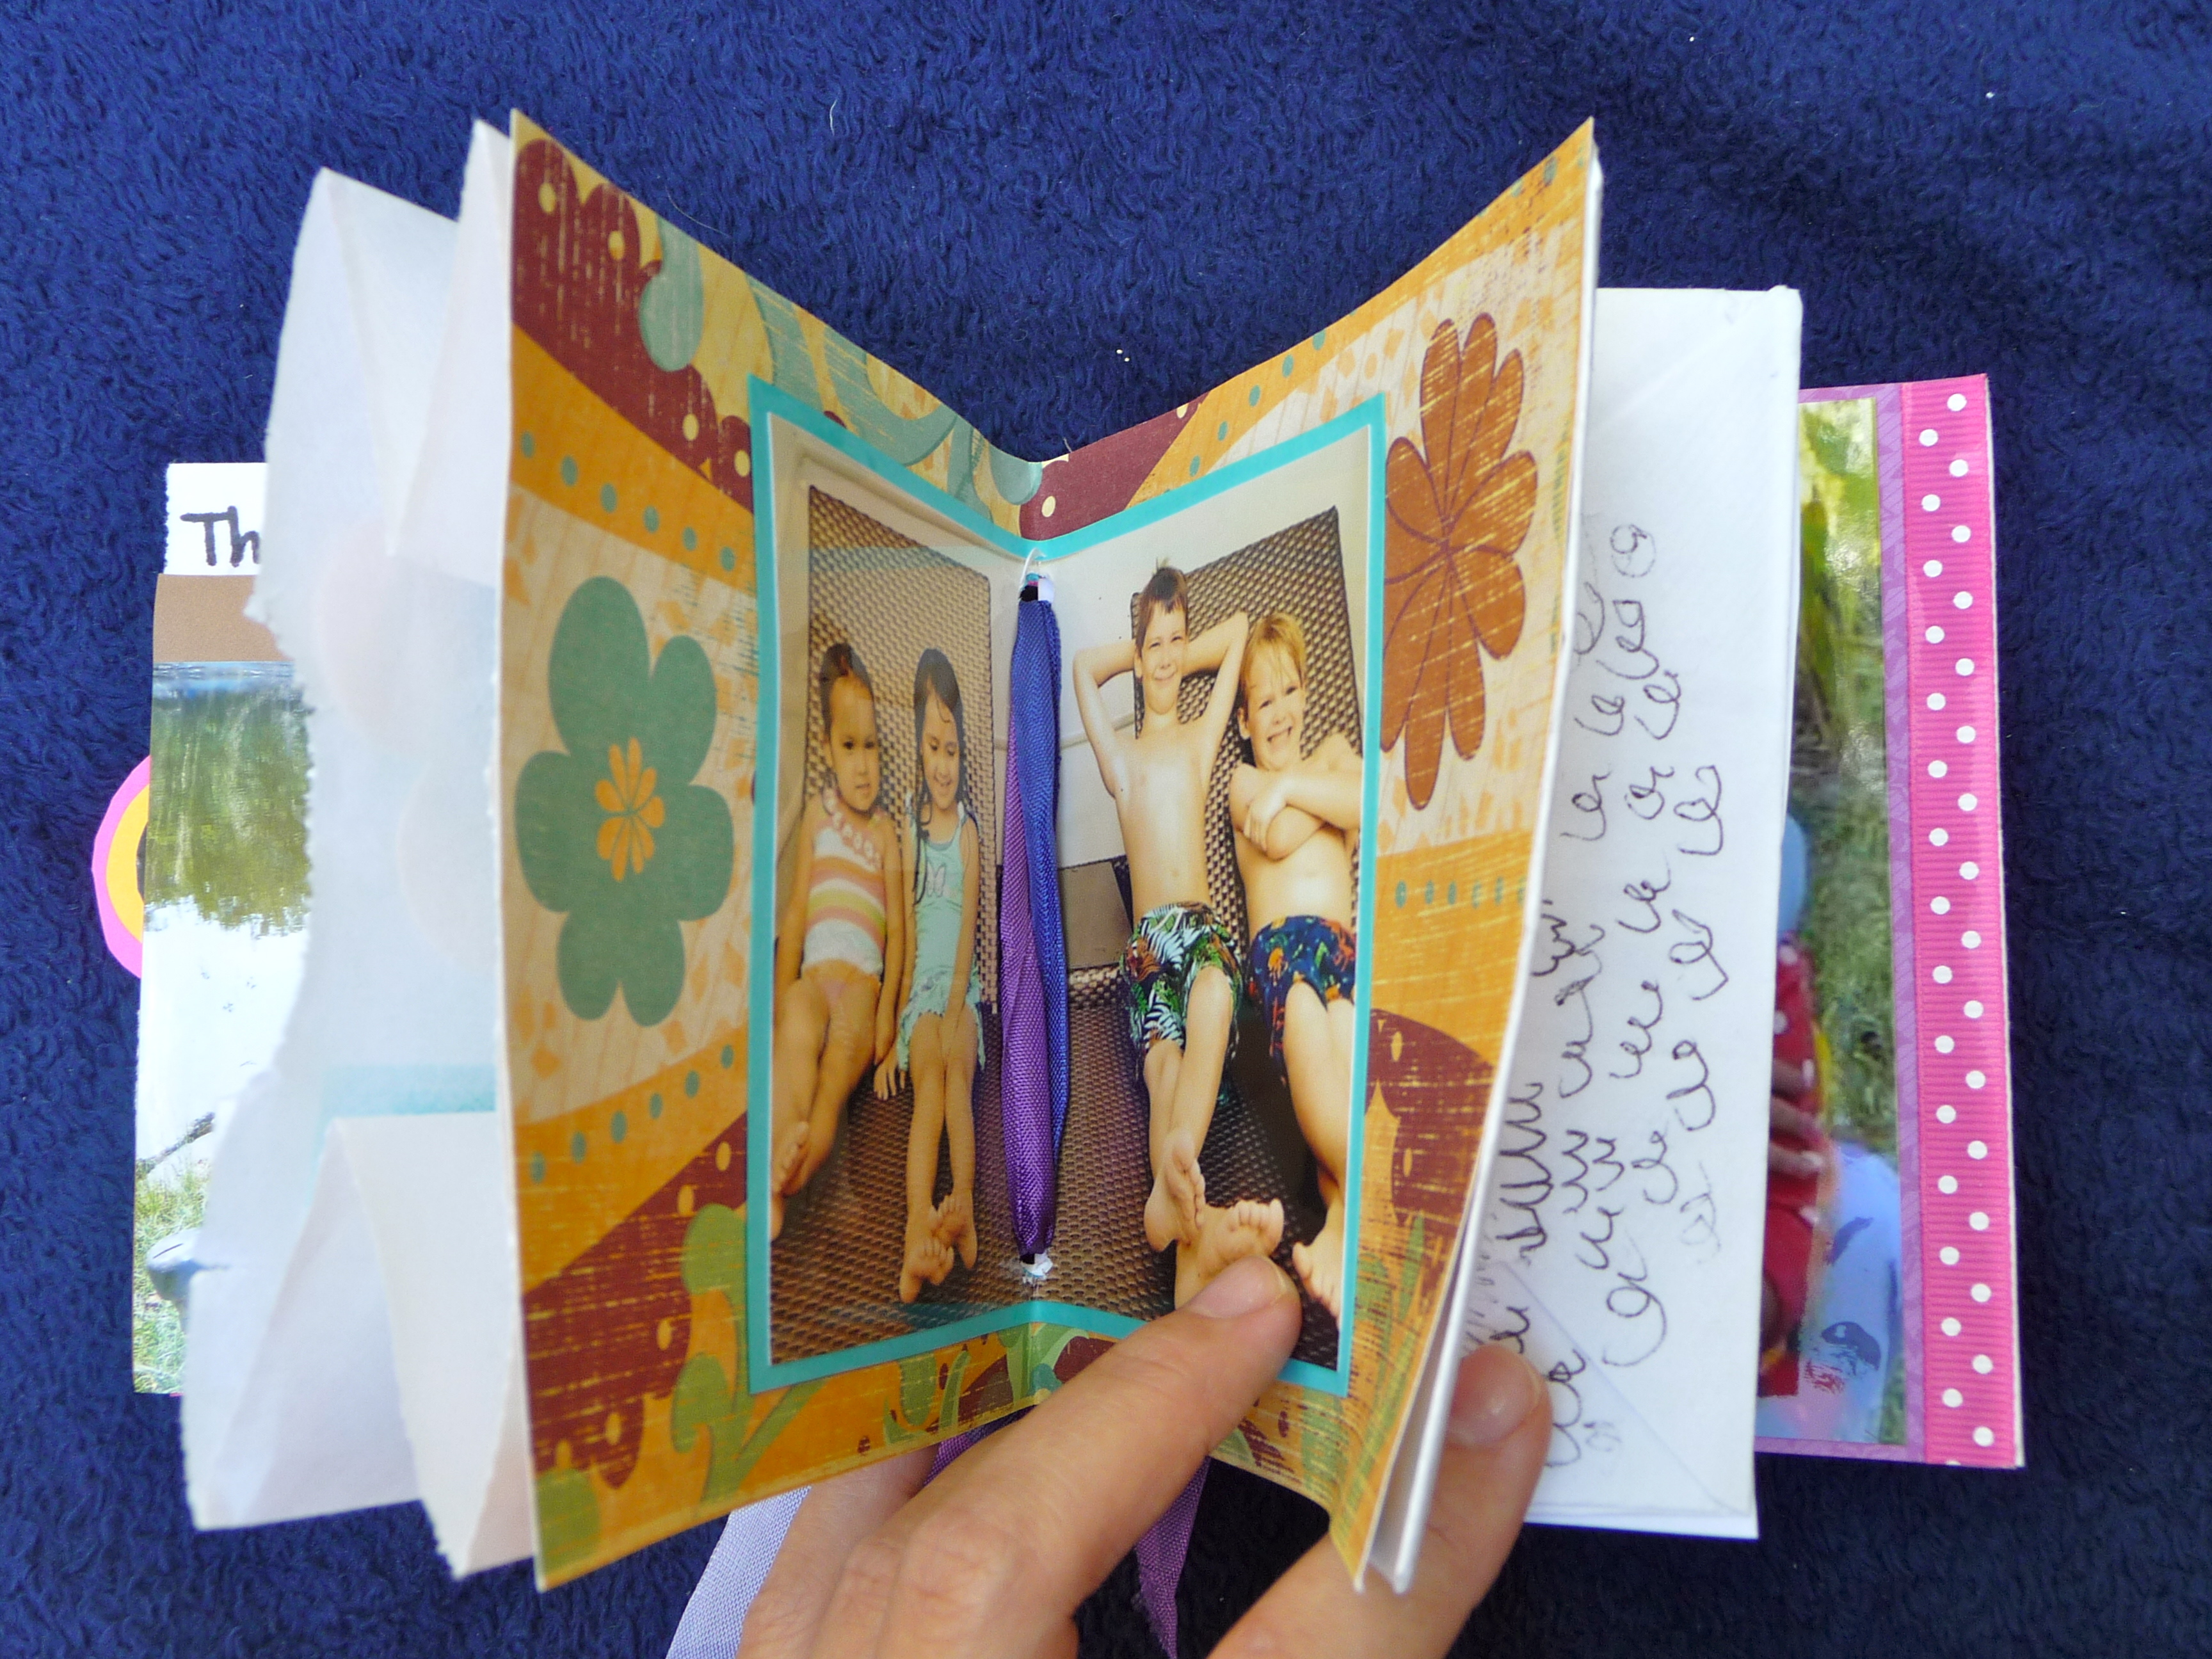
In the end, your final product will look something like this: 
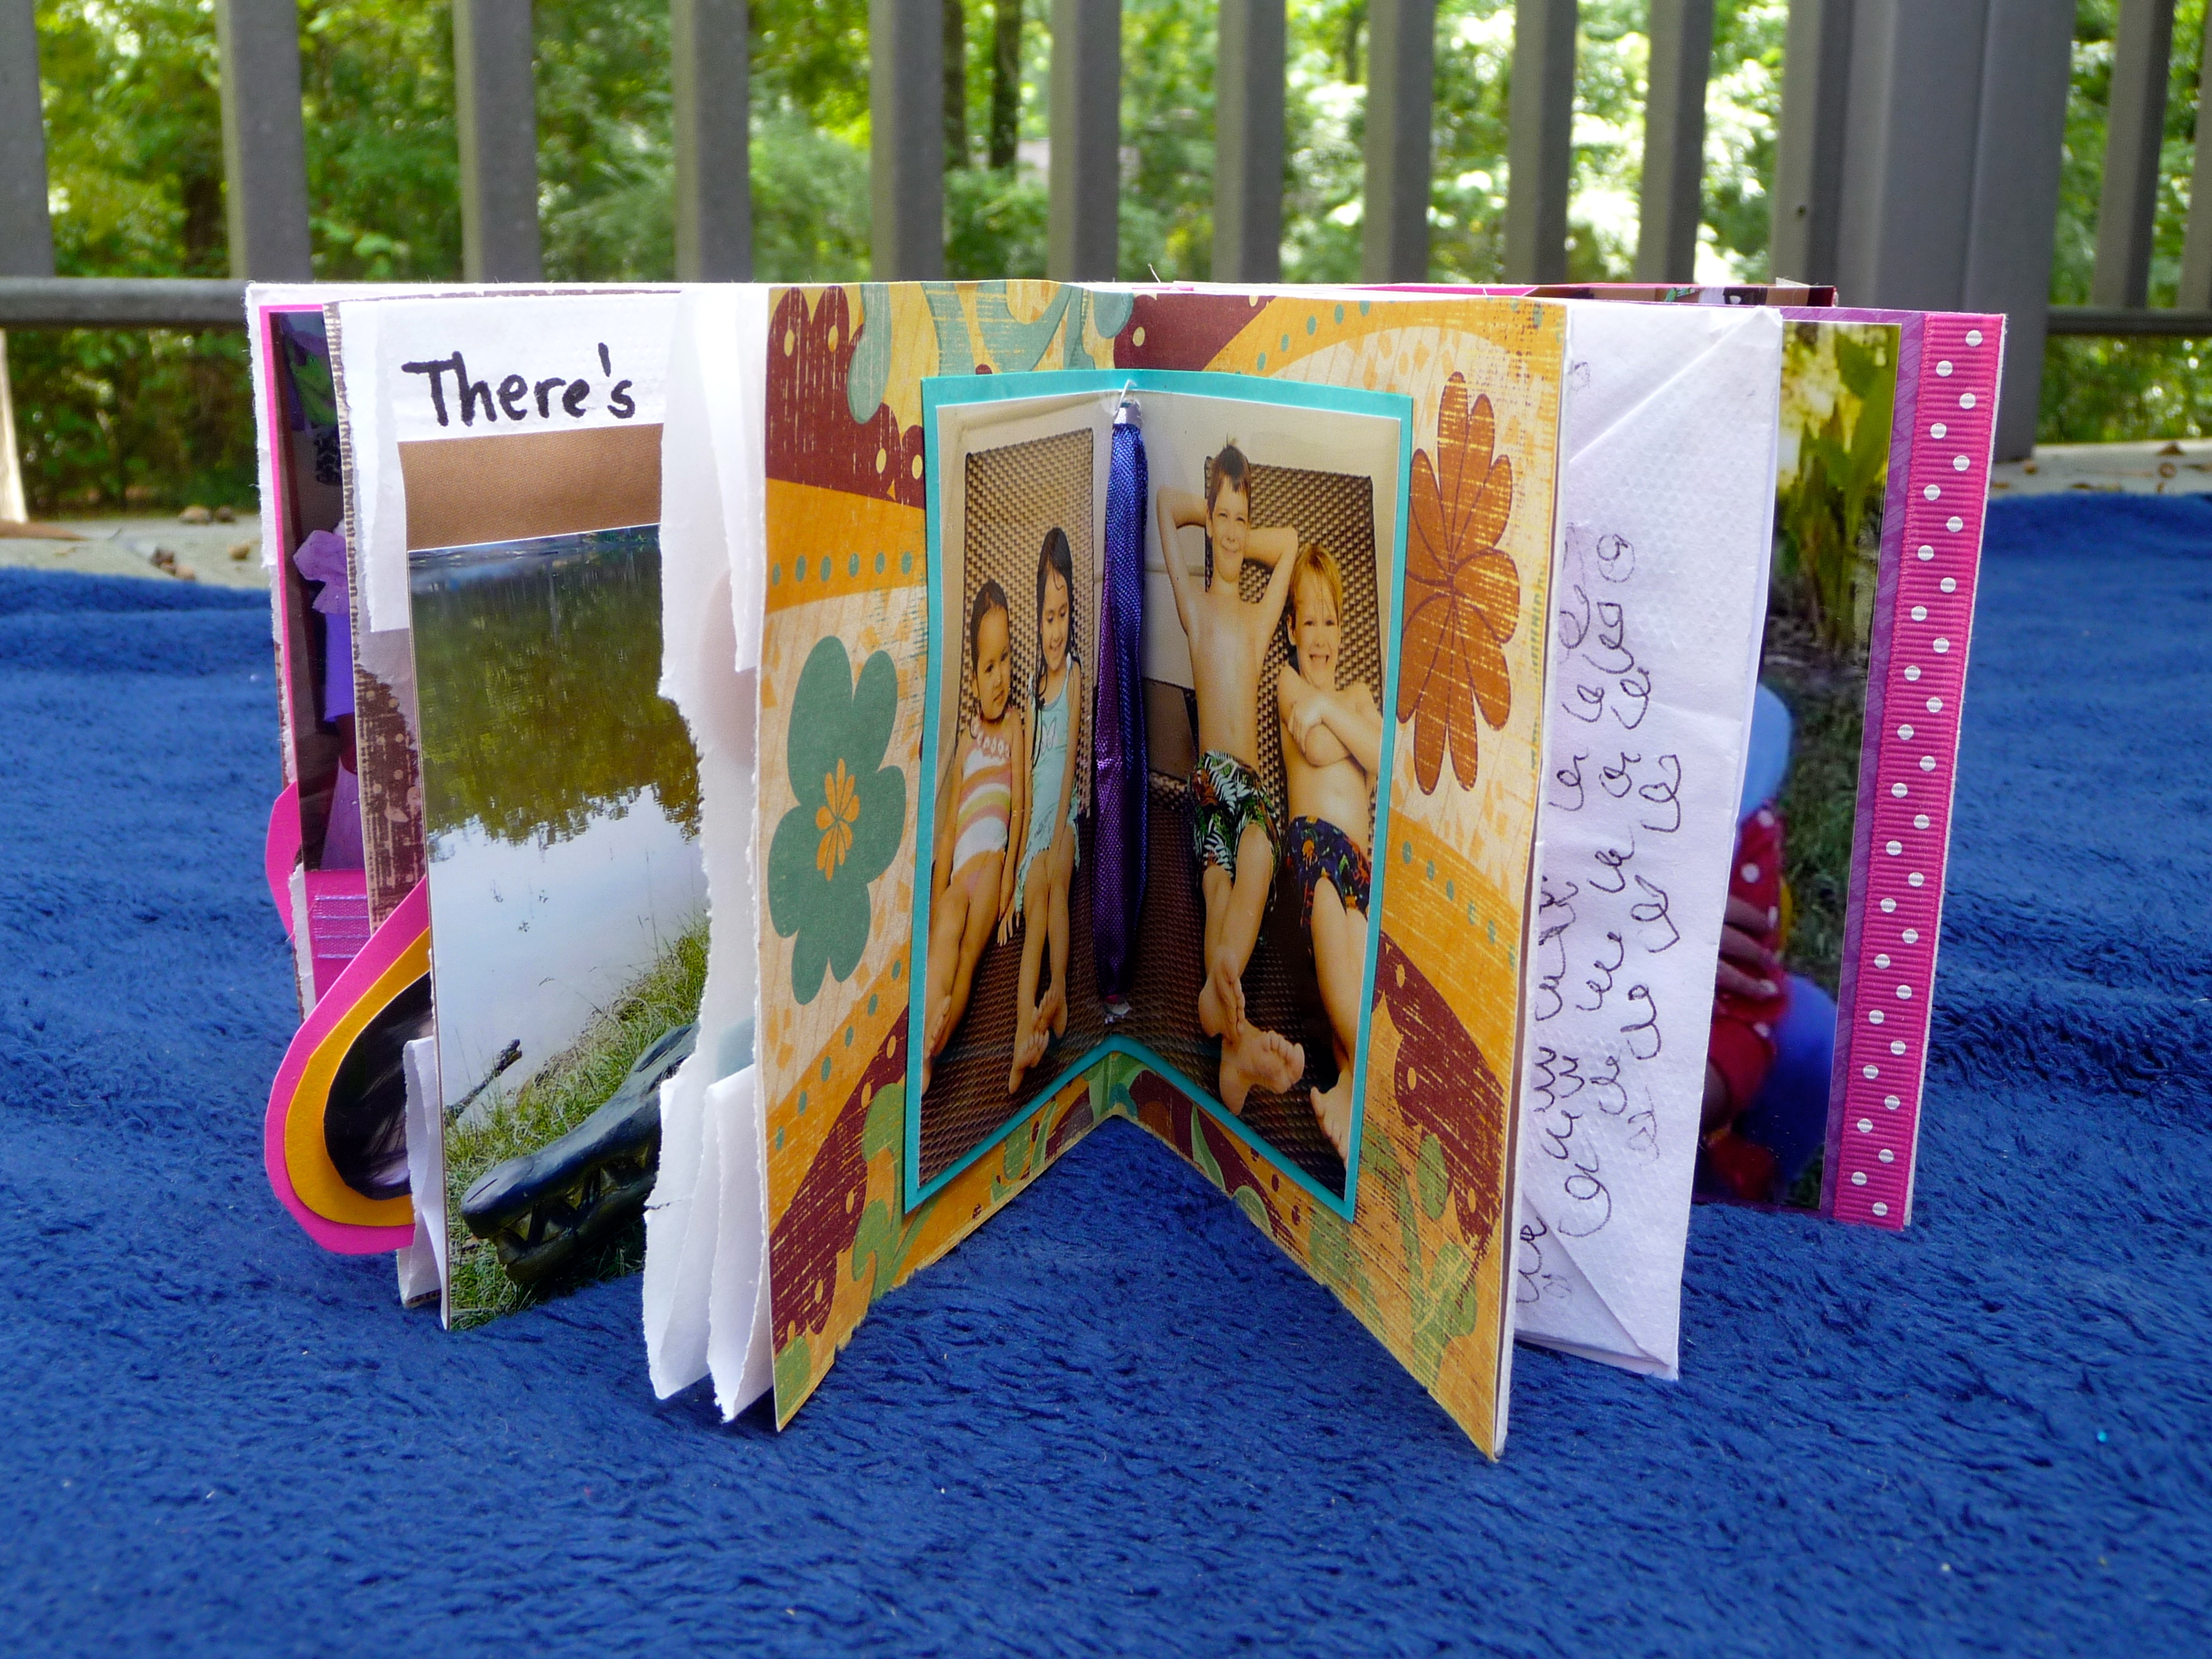
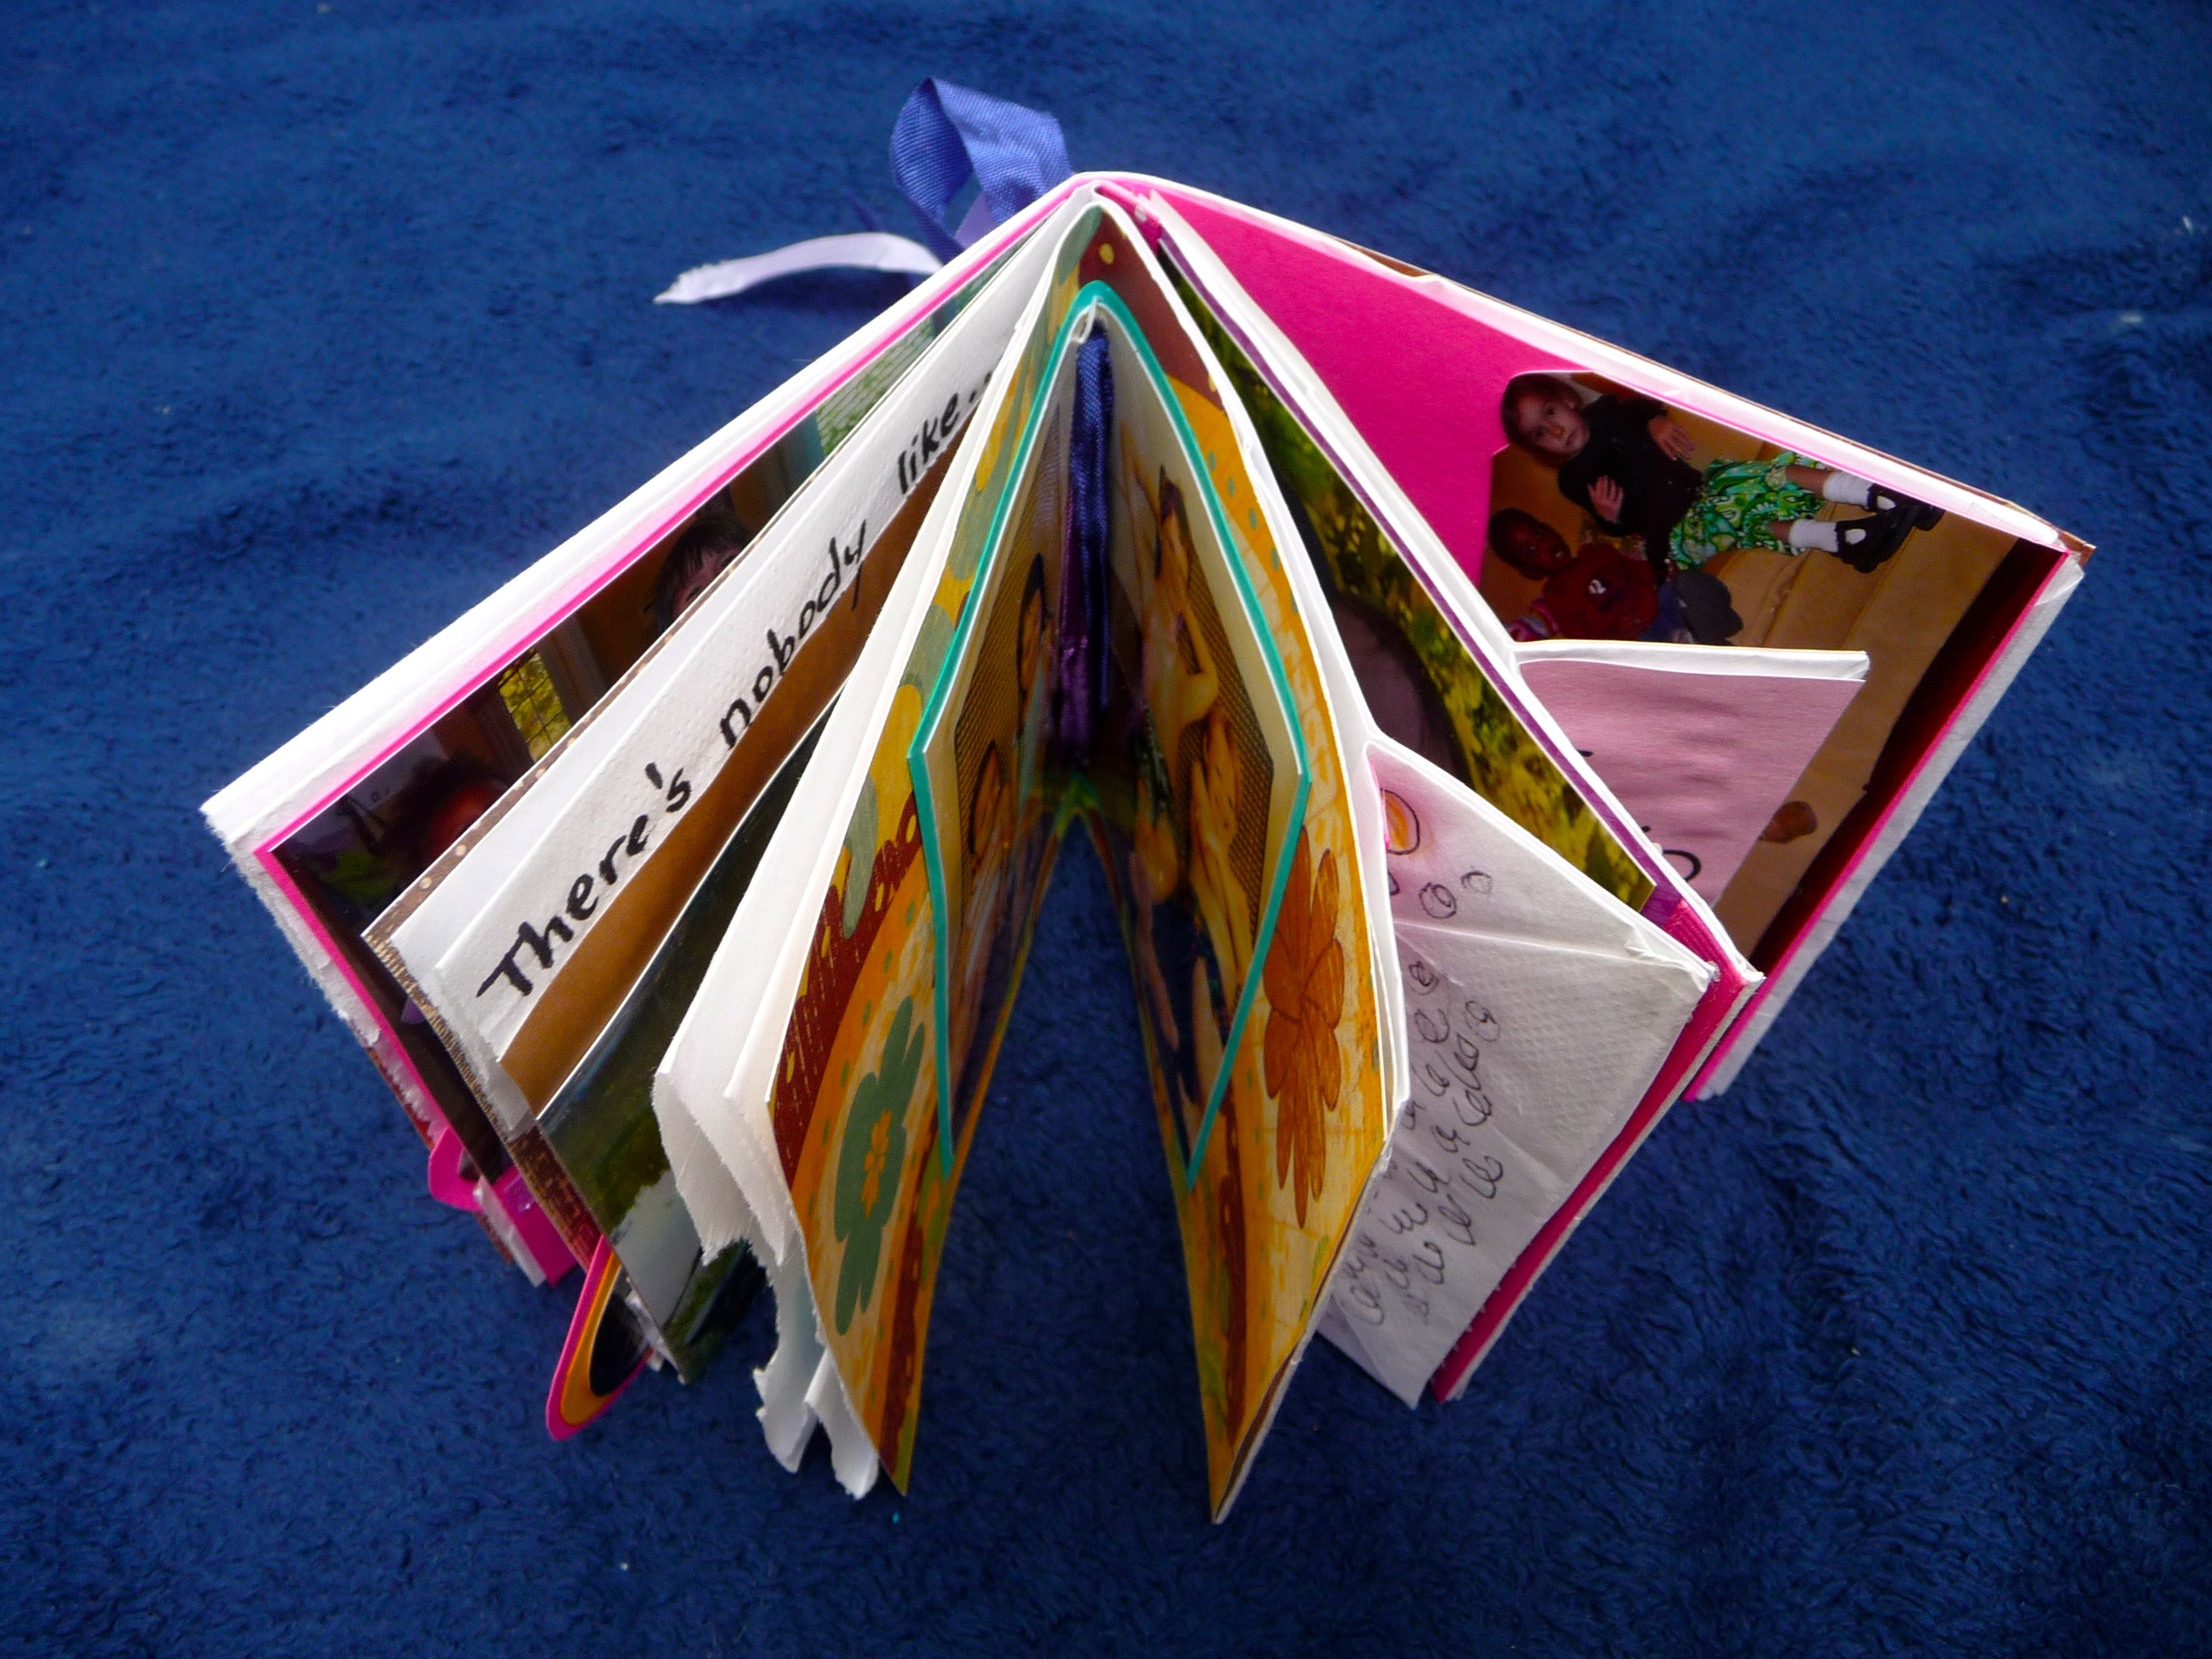

Oh…and like this!
 .
.
You May Also Like:


I love to scrapbook, this is interesting, must try!! 🙂